> ## Documentation Index
> Fetch the complete documentation index at: https://docs.xynehq.com/llms.txt
> Use this file to discover all available pages before exploring further.
# Re-Ingesting Data
> Re-Ingest data into Xyne
This is a detailed guide to help you re-ingest your data into the Xyne app, whether it's using the OAuth account or Service Account.
Incase you have restarted the app or simply want to re-ingest your data into the Xyne app, you can use the following steps to do so :
This guide is a temporary solution to help you re-ingest your data into the Xyne app, we will soon be creating a UI for it for easier use
## Steps to Re-Ingest Data into the Xyne app:
Make sure the docker containers are ***running***, this is required for the following changes you'll make.
* First we need to bash into the docker container running the database, i.e., `xyne-db`. For this use :
```javascript theme={null}
docker exec -it xyne-db bash
```
* This will take you inside the docker container. You will see that you're logged-in as a `root` user and also see the `container id` with it.
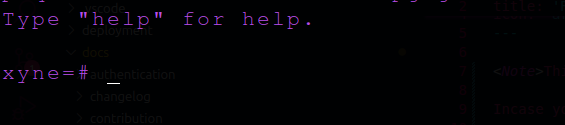
* This means you're now inside the docker container successfully, after this you need to login to the postgres database as a xyne user.
* For this, use the following command :
```javascript theme={null}
psql -U xyne
```
* Once you've logged in to the postgres database as a Xyne user, you will see this :
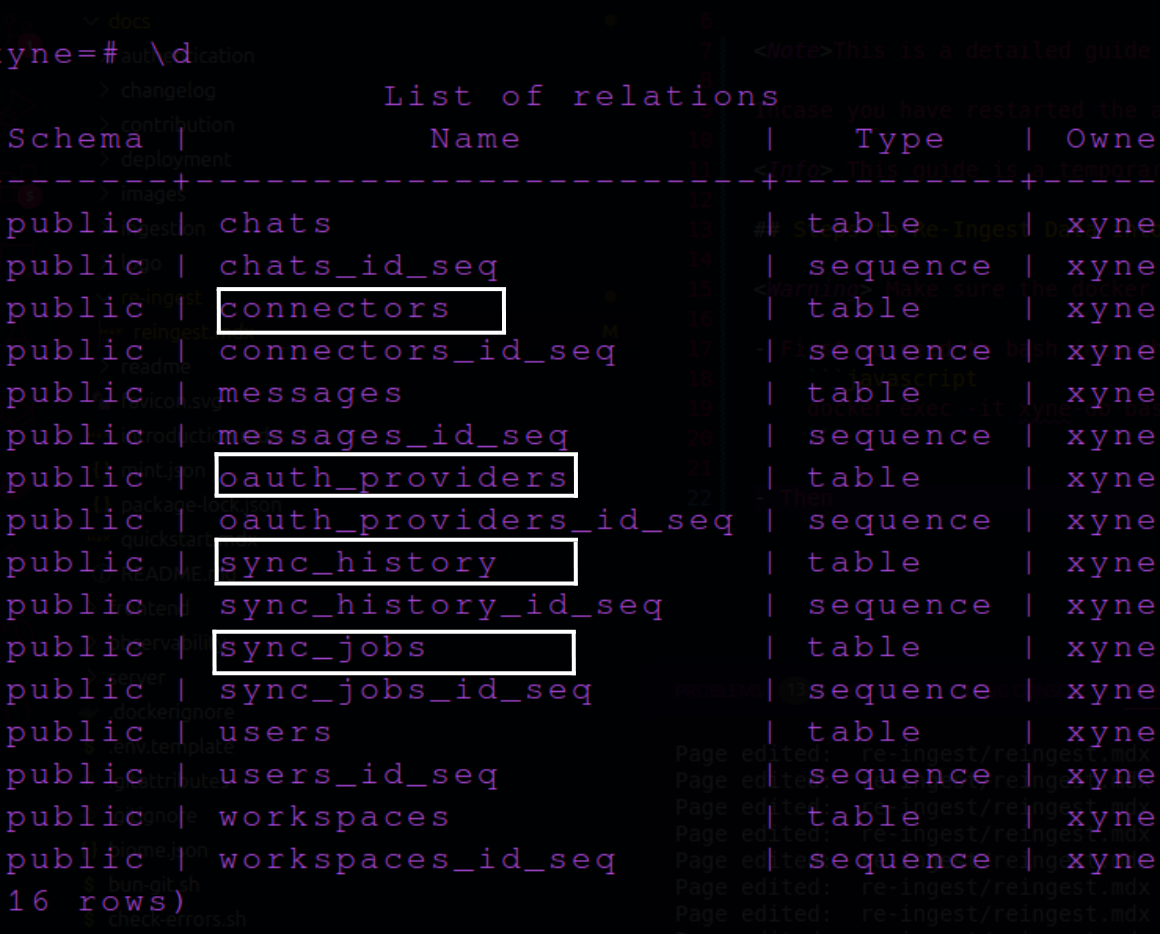
 * Next, you wanna see the list of tables in the database, use :
```javascript theme={null}
\d
```
* This will show you the list of tables in the postgres database, out of the tables, we will be working with `connectors` and `oauth_providers`, `sync_jobs` and also `sync_history`.
* Next, you wanna see the list of tables in the database, use :
```javascript theme={null}
\d
```
* This will show you the list of tables in the postgres database, out of the tables, we will be working with `connectors` and `oauth_providers`, `sync_jobs` and also `sync_history`.
 * Now we will have a look at the contents of each table using the following commands :
You can use `q` to exit viewing the table contents
* Oauth Providers
```javascript theme={null}
select * from oauth_providers;
```
* Connectors
```javascript theme={null}
select * from connectors;
```
* Sync Jobs
```javascript theme={null}
select * from sync_jobs;
```
and
* Sync History
```javascript theme={null}
select * from sync_history;
```
Consider remembering the `id` for each table because you might need it later.
If you don't see an output for any of the above tables, you can refrain from following the next step for that specific table only.
* This will show you the contents of the table.
* Now lets remove the contents of the tables, for this use either:
#### Truncate
```javascript theme={null}
truncate table connectors, oauth_providers, sync_jobs, sync_history;
```
OR \[If you face issues with the truncation]
#### Delete
* Oauth Providers
```javascript theme={null}
delete from oauth_providers where id=;
```
* Connectors
```javascript theme={null}
delete from connectors where id= ;
```
* Sync Jobs
```javascript theme={null}
delete from sync_jobs where id= ;
```
and
* Sync History
```javascript theme={null}
delete from sync_history where id= ;
```
* Once this is done, you can `exit` out of the db and docker-container using the command:
```javascript theme={null}
exit
```
* After doing this, when you revisit your connectors page for ingestion, you will see the form for the account like you initially did when ingesting.
* Now we will have a look at the contents of each table using the following commands :
You can use `q` to exit viewing the table contents
* Oauth Providers
```javascript theme={null}
select * from oauth_providers;
```
* Connectors
```javascript theme={null}
select * from connectors;
```
* Sync Jobs
```javascript theme={null}
select * from sync_jobs;
```
and
* Sync History
```javascript theme={null}
select * from sync_history;
```
Consider remembering the `id` for each table because you might need it later.
If you don't see an output for any of the above tables, you can refrain from following the next step for that specific table only.
* This will show you the contents of the table.
* Now lets remove the contents of the tables, for this use either:
#### Truncate
```javascript theme={null}
truncate table connectors, oauth_providers, sync_jobs, sync_history;
```
OR \[If you face issues with the truncation]
#### Delete
* Oauth Providers
```javascript theme={null}
delete from oauth_providers where id=;
```
* Connectors
```javascript theme={null}
delete from connectors where id= ;
```
* Sync Jobs
```javascript theme={null}
delete from sync_jobs where id= ;
```
and
* Sync History
```javascript theme={null}
delete from sync_history where id= ;
```
* Once this is done, you can `exit` out of the db and docker-container using the command:
```javascript theme={null}
exit
```
* After doing this, when you revisit your connectors page for ingestion, you will see the form for the account like you initially did when ingesting.