Setup Google Credentials
Setup your Google Credentials for the application.
Enabling APIs
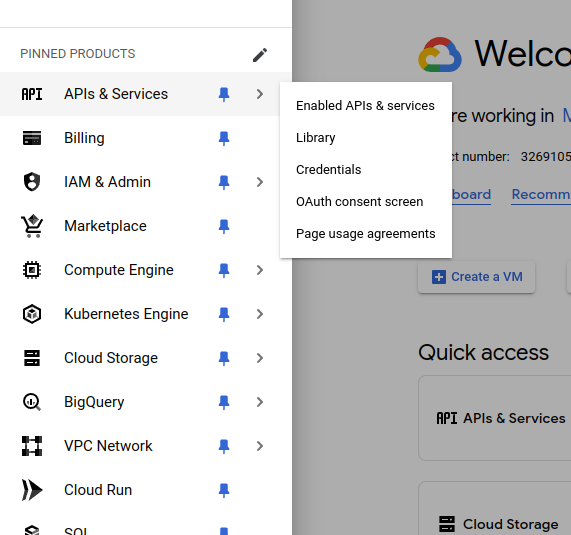
Switch to the new project you just created. The first step is to enable the APIs which are needed for the app.- From the menu in the side bar, under APIs and Services section select the
Enabled APIs & Services.
- In the
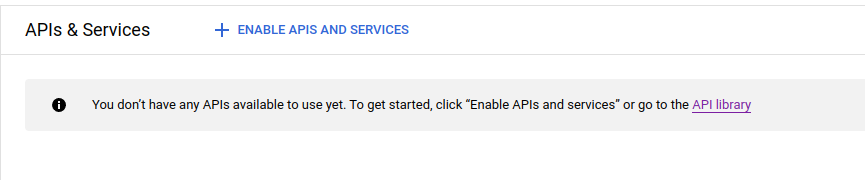
Enabled APIs & Servicespage, click on the+ Enable APIs & Services.
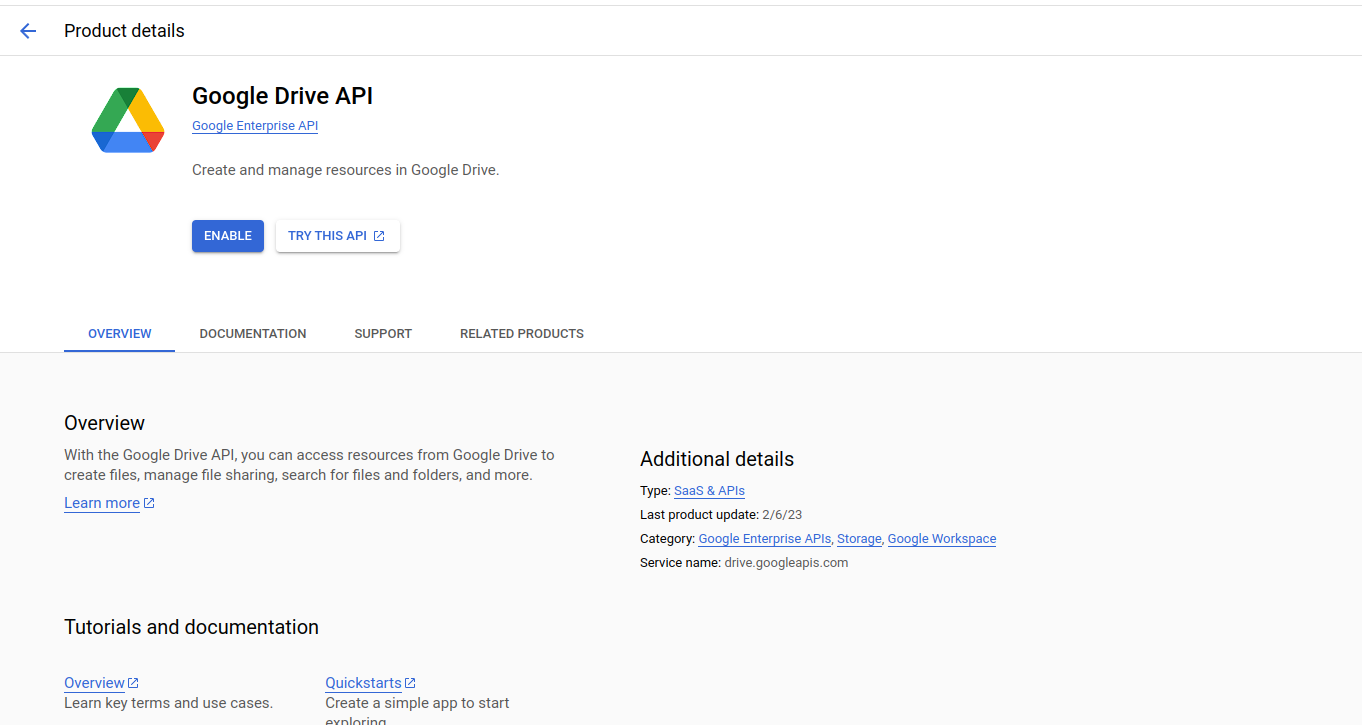
- You will now see a search box where you can search for the specific API that you want to enable. (For example : Google Drive API)
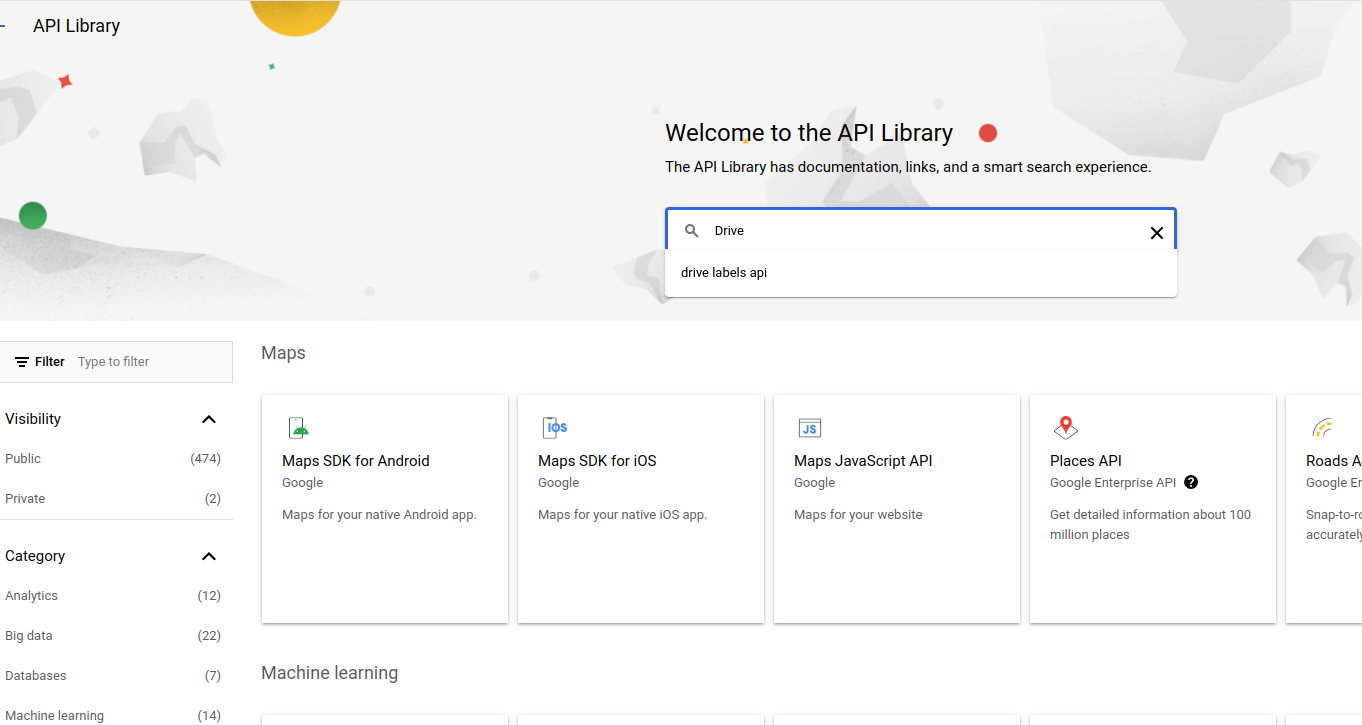
- Once you search for an API, you will find a list of APIs.
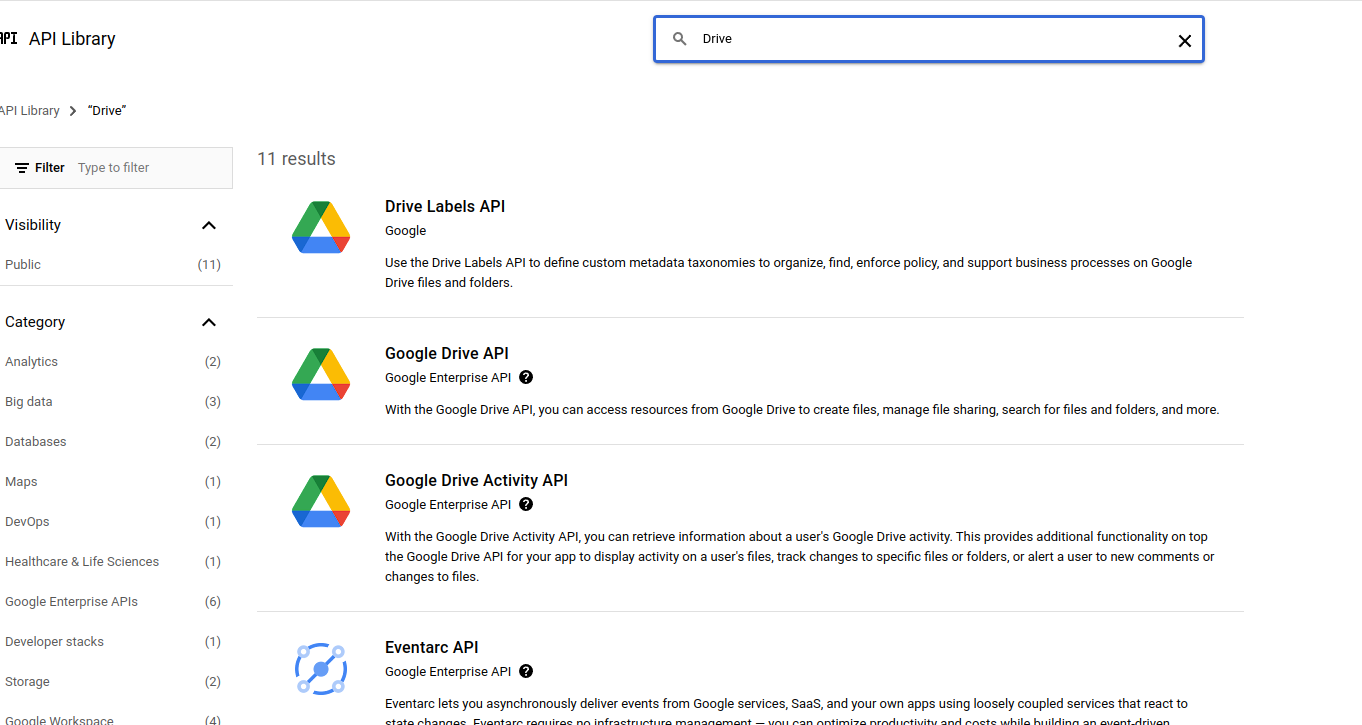
- From the list of APIs, select the Google Drive API to enable. And then click on
Enablein the API page.
- Once the API is enabled, you will see that a
DISABLE APIbutton appears on top of the page.
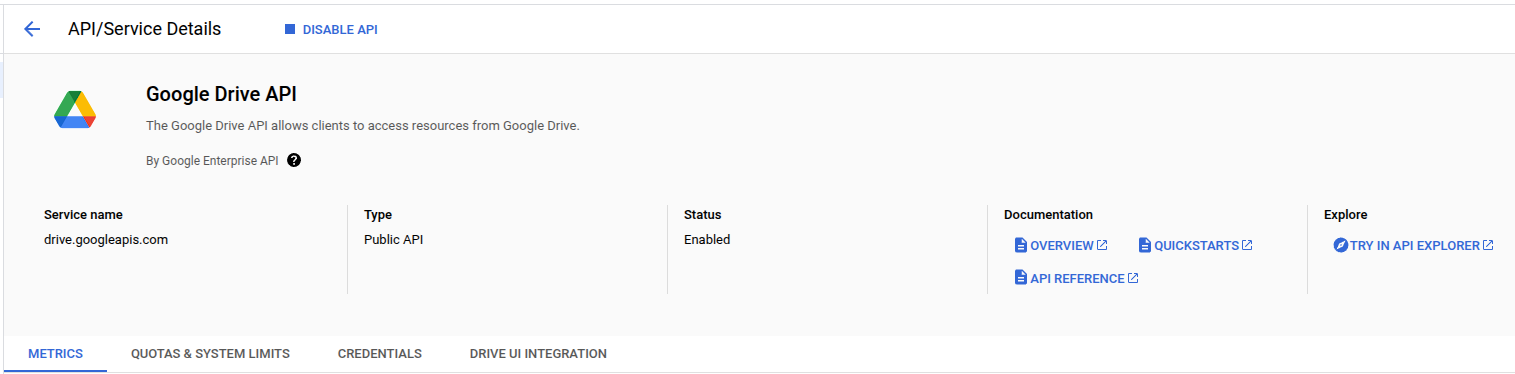
- When you go back to the
Enabled APIs & Servicespage, you will see that the enabled API has appeared in the list.

Adding the scopes for the Enabled APIs:
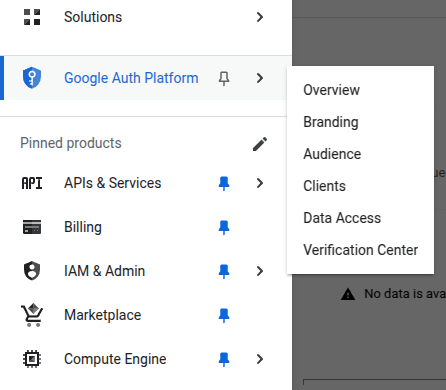
- From the menu on the left-side, navigate to
Google Auth Platform. And under that, navigate toData Accesssection.
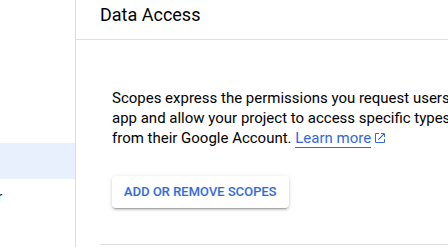
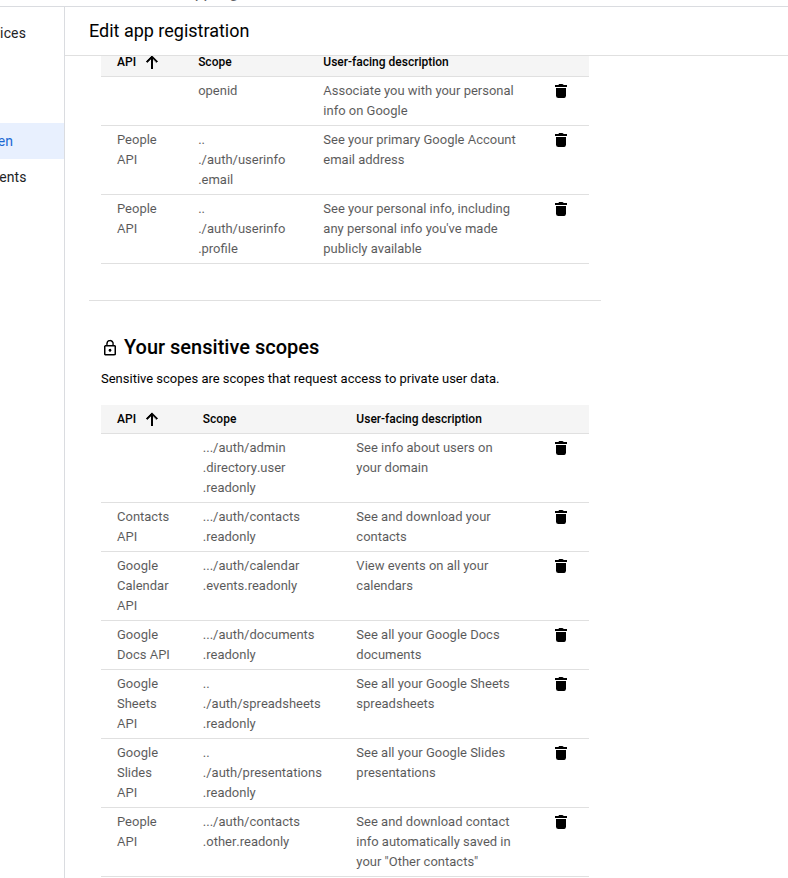
- Along with the scopes you had added before, add the rest of scopes for the enabled apis, using the
ADD OR REMOVE SCOPESbutton.
-
Ensure to select the checkbox for all of these scopes [you can use these values in the searchbox for the scopes table] :
/auth/drive.readonly/auth/documents.readonly/auth/spreadsheets.readonly/auth/presentations.readonly/auth/contacts.readonly/auth/contacts.other.readonly/auth/gmail.readonly/auth/calendar.events.readonly
manuallyadd the scopes in theboxbelow.
ADD TO TABLE, and then UPDATE. You will now be able to see all the added scopes in the tables below:
SAVE .
This concludes the set-up process of Google OAuth.