Setup Google Credentials
Setup your Google Credentials for the application.
Setting up the Service Account and Credentials
First, from the menubar on the side, navigate to theIAM & Admin section. In there look for the Service Account section. Or directly visit here, and then select your project.
In there click on + CREATE SERVICE ACCOUNT .

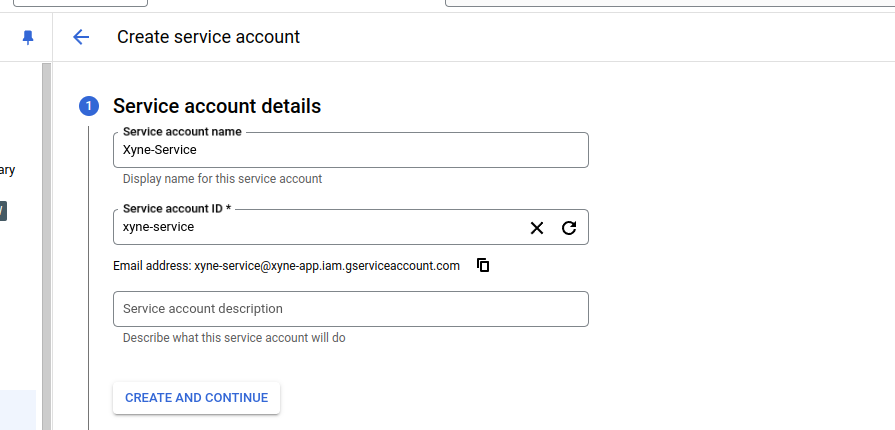
CREATE AND CONTINUE
- Grant the roles, based on the internal policies preferred by your organization, in the account.
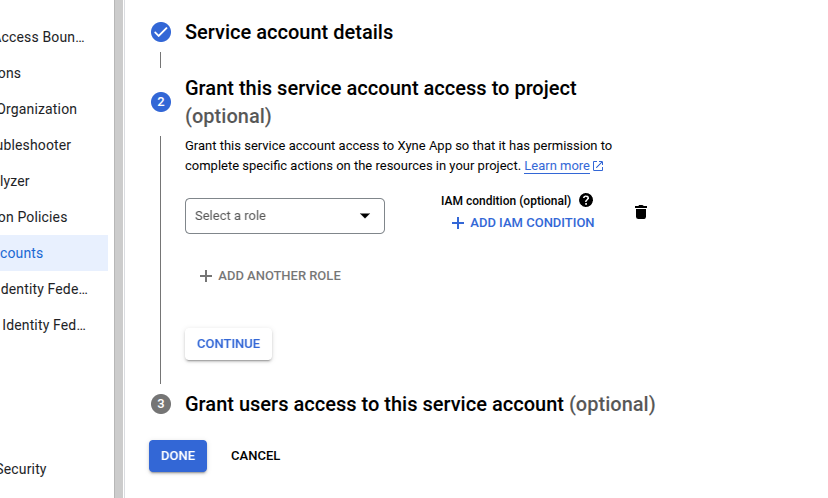
-
Click on
continue. - Optionally you can allow a list of users to access the service account:
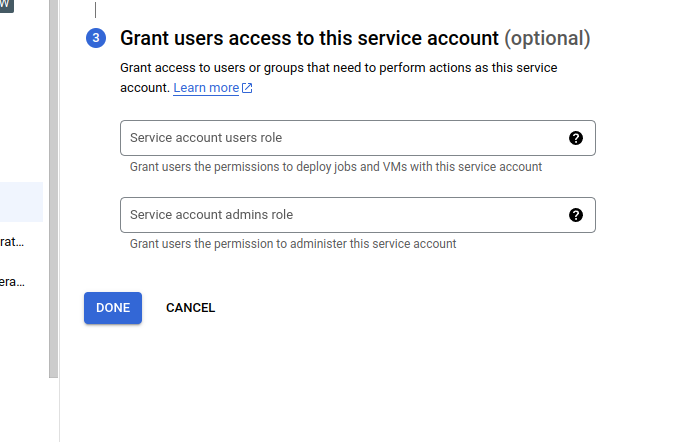
-
Click on
Done - Once the service account has been created, you’ll be navigated to the service account details page where you can now configure your key..
-
In the
Service Accountsection where you can see your newly created service account, you will find aKEYStab.

- In there navigate to the
keystab. - Click on
ADD KEY, followed by clicking onCreate New Key
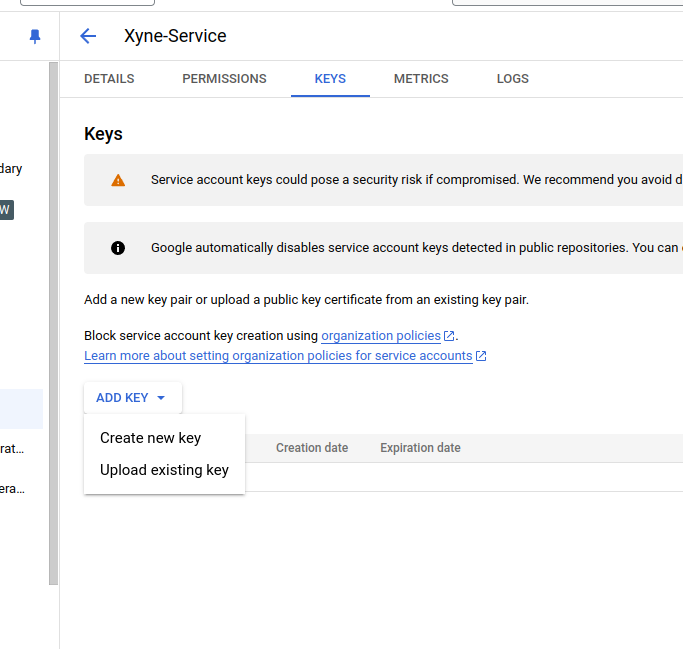
- Choose the
jsonoption for downloading the key file, and click onCreate.
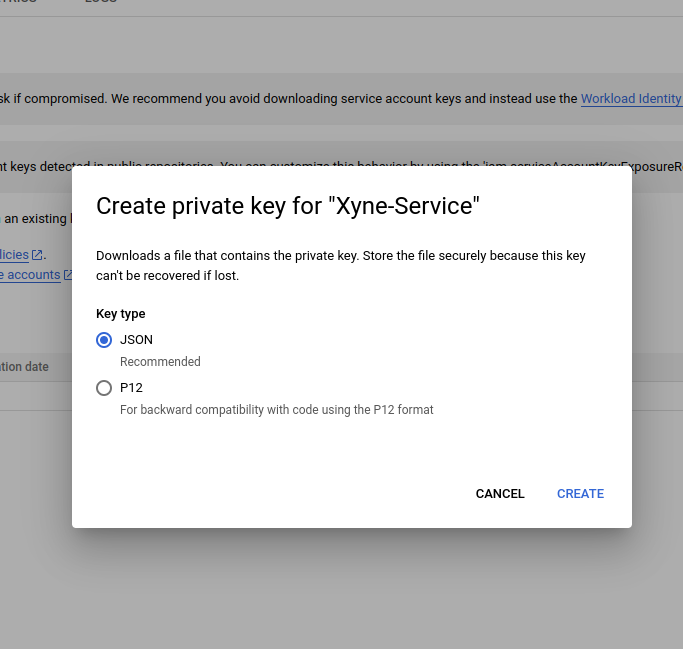
- Remember the
Client idassociated with this json file. - Once the key file has been created, choose a reliable location for downloading the key file, this will be used for putting it in the
.envof the application
Enabling APIs
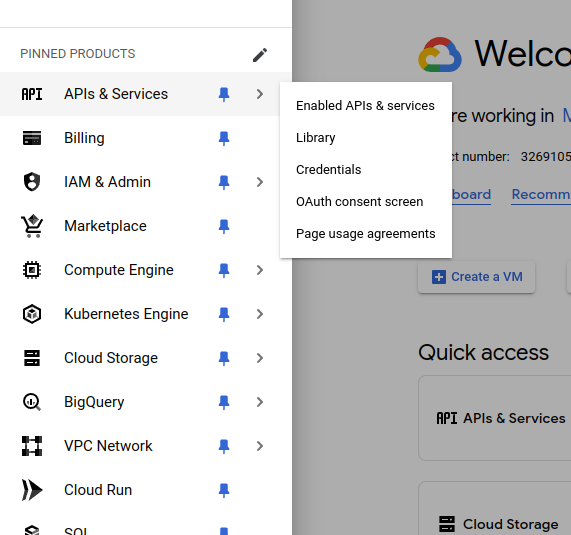
Switch to the new project you just created. The first step is to enable the APIs which are needed for the app.- From the menu in the Sidebar, under APIs and Services section select the
Enabled APIs & Services.
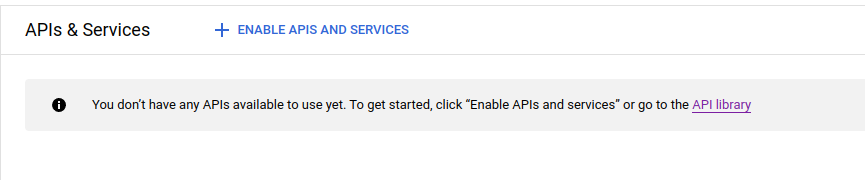
- In the
Enabled APIs & Servicespage, click on the+ Enable APIs & Services.
- You will now see a search box where you can search for the specific API that you want to enable. (For example : Google Drive API)
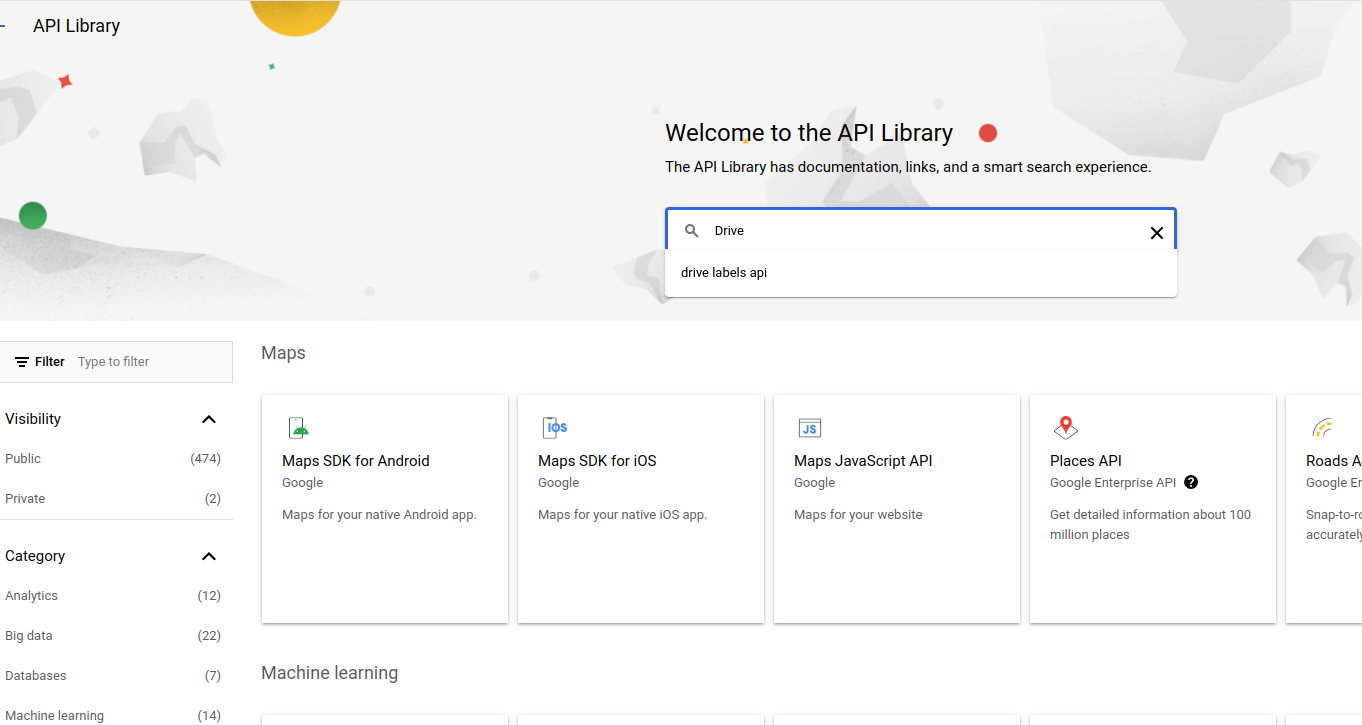
- Once you search for an API, you will find a list of APIs.
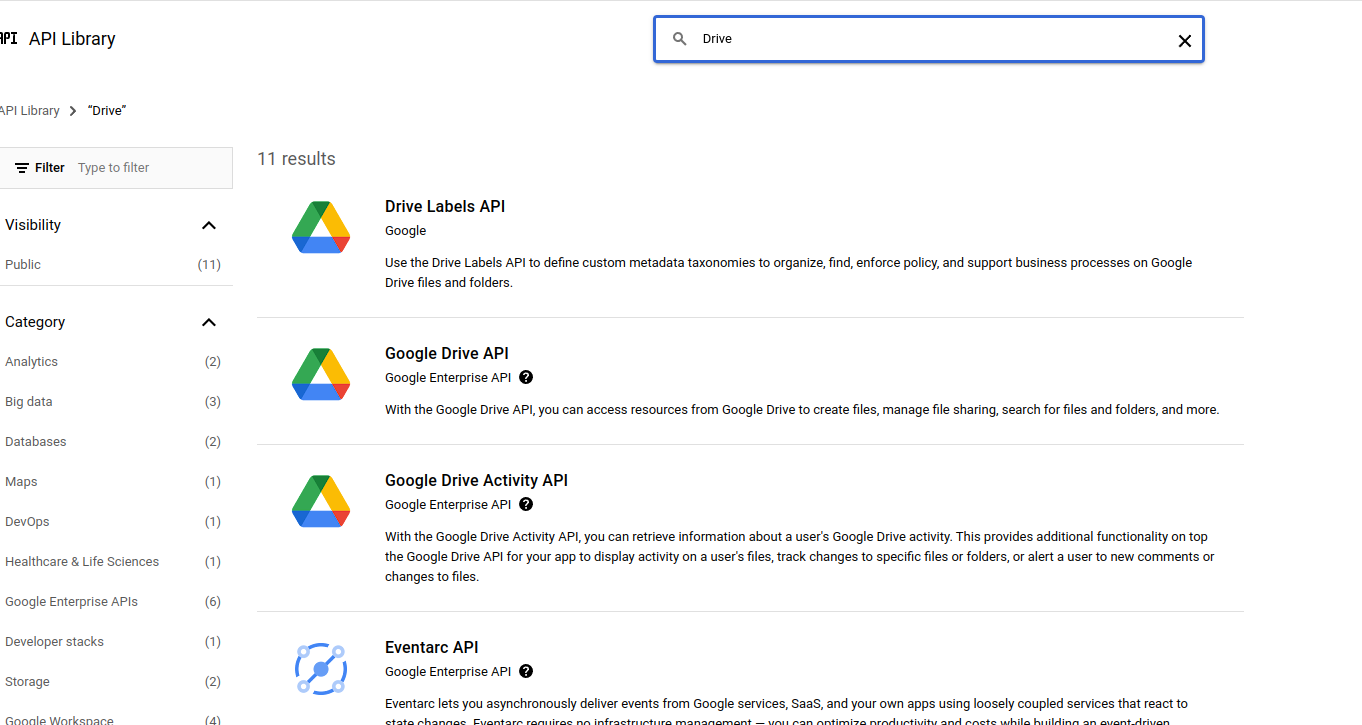
- From the list of APIs, select the Google Drive API to enable. And then click on
Enablein the API page.
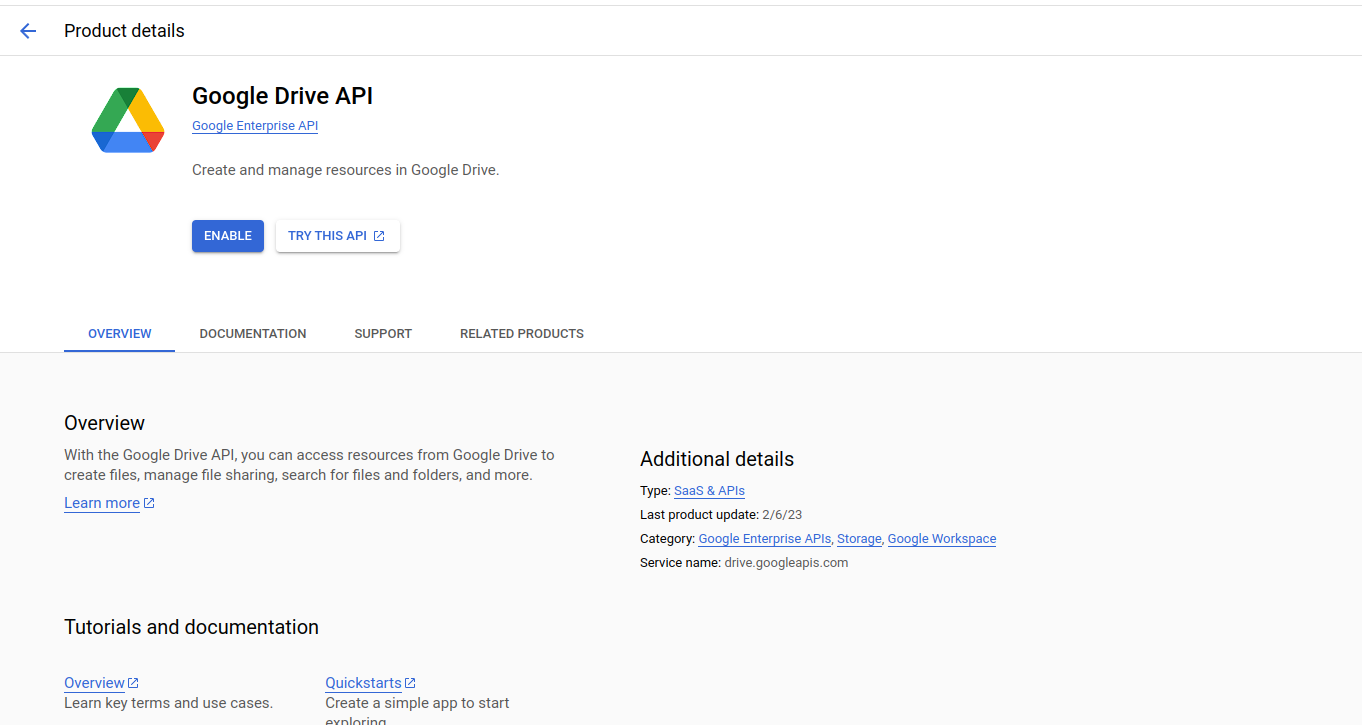
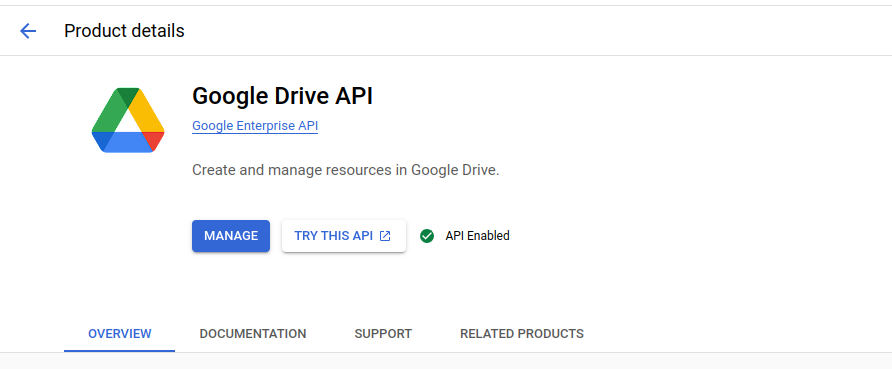
- Once the API is enabled, you will see that the Enable button now changes to
Manage. This means that the API has been enabled.
- When you go back to the
Enabled APIs & Servicespage, you will see that the enabled API has appeared in the list.

- Google Drive
- Google Calendar
- Google Slides
- Google Docs
- Google Sheets
- Gmail
- Contacts
- People
- Admin SDK
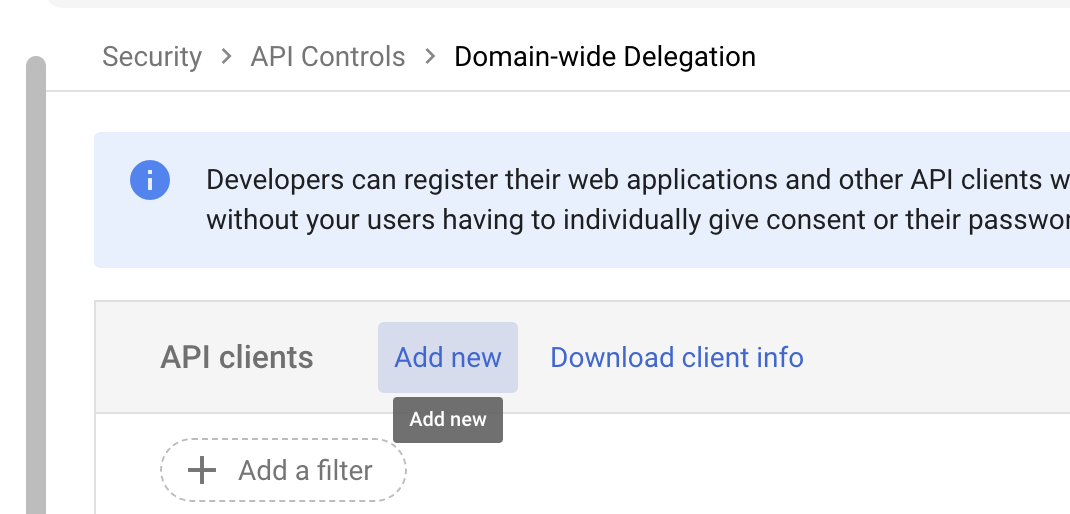
Setting up Delegation
- Now that all of this is done, the
Workspace Adminneeds to do some delegations, navigate to Domain Wide Delegation. - Click on
Add New
- In there paste the
OAuth Client Idthat you received when creating the service account key. - Paste the following scopes :
- Click on
Authorize.